 |
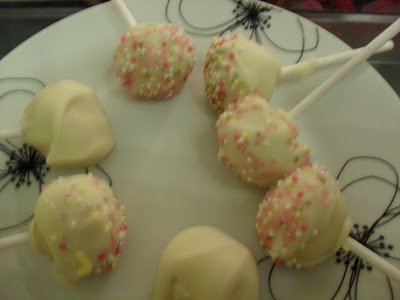
| Pink cake pops with sprinkles |
The most obvious difference was that I used proper lolly sticks, bought from Hobby Craft. They are longer than regular lolly sticks which makes it easier to dip and allows you to use a larger ball of cake mixture.
The second tip is to leave the cake pops in the fridge for a while before dipping them. This allows the chocolate around the stick to set so they are less likely to fall off, and also when the cake mix is cold it means that chocolate coating cools more quickly when you are dipping them. (Does that make sense?)
The only problem with this is that you have probably melted all your chocolate in order to dip the sticks, but then you have to leave it whilst the cakes are in the fridge. I worked around this by doing about 5 at a time and then sticking them in the fridge.......then I dipped another five etc and when I came to doing the coating the original ones had been refrigerated for long enough to be cold. Some people put them in the fridge overnight but then I guess they must only melt a little chocolate at a time.
We also bought some "oasis" foam from Hobby Craft. It's the stuff you use for flower arranging. It worked so much better than my DIY cardboard box idea. Don't they look great?!
It took a lot of time to get the chocolate coating to the right temperature.....too hot and it took ages to set, too cold and it wouldn't smooth out. We used regular white chocolate with some red food colouring in it to make pale pink.
The real secret to successful cake pops is PATIENCE. The whole process took about 2 hours I think which is really mental when you only get about 20 cake pops for all your efforts! And one last look at the finished product....
 |
| How to make perfect cake pops |
This was my first attempt in case you hadn't seem them:
 |
| How not to make cake pops |


No comments:
Post a Comment